Where Search Results Appear
After executing a search, the results will appear in one of the places listed below. Click on a link, or scroll down to learn more about each of the areas where search results appear.
Case Folders Tab
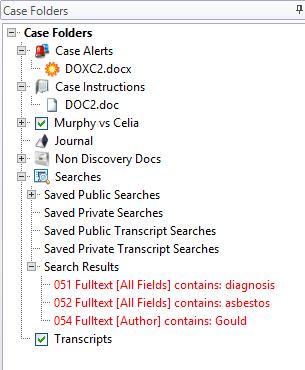
The Case Folders tab includes a list of currently open Search Results tabs and the corresponding search definitions. If several tabs are open, use this list to find a needed tab; double-click the search definition (in red) to make the corresponding tab active.
Search results can be saved in folders in the Saved Searches lists as explained in Work with Saved Searches.

|
NOTE: Transcript searches are not included in this list. View current transcript search results on the Transcript Viewer (see the Transcript Viewer section for more information) and view past transcript searches through search history as described in Use Search History. |
Search Results Tabs
After you perform a search, a Search Results tab in the documents pane lists all documents meeting your search criteria. The number of documents meeting the search criteria, along with the currently selected document in that set, are listed at the top of the tab. The following example shows that 16 documents have been found.

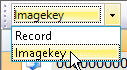
In addition to the search-result number, you can view the record’s image key by selecting the desired identification from the pull-down menu.
|
|
NOTE: Your search results may span more than one “page” (document set), depending on the number of results and your grid size setting. See for details on viewing all search results. |
To view a specific record, scroll in the Search Results tab and select it. Or, enter the needed record number or image key in the identification field and press ENTER. If the record exists, the search results will go to that number. If the specified record does not exist, the identification field will populate with an existing record number, which will display in red text.
Multiple searches can be conducted during a working session. The total number of Search Results tabs allowed depends on the number of open tabs. Up to 50 tabs can be open in Review at one time, including the Case View tab, Search Results tabs, and Smart/Private Folder tabs.
If you have several tabs open, they can be easily accessed and managed:
-
To easily move to or close multiple tabs in the documents pane:
-
Right-click in the Case View or related tab and select Manage Searches > Manage Search Tabs.
-
To move to a tab, right-click it and select Jump to this tab.
-
To close one or more tabs, select them and click OK.
-
Record View
Search results are highlighted in fields in Record View. Open Record View by selecting the check box marked Record View above the Search Results tabs.

To see all search matches:
-
Scroll in Record View to see all fields.
-
Expand large-text fields and scroll within such fields to find all results.
-
Show hidden fields if they might include the search term.
Image Tab
For a selected record in a Search Results tab, you can view search matches in the Image tab if your case includes word coordinates. (Word coordinates allow search hits to be highlighted in the Image tab, and are created during the OCR process.) Contact your administrator if search results are not highlighted on the Image tab and you feel they should be.
|
|
NOTE: Sticky notes and embedded text added to images can also be searched. These results are not highlighted. You will need to open sticky notes or read embedded text to view search results in context. |
To see all search matches in the Image tab, take any of the following actions:
-
Optional: Customize search highlight colors by reviewing the section on Search Highlight Options.
-
Scroll through the image and/or navigate from page to page.
-
Change image size.
-
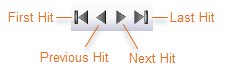
Click the navigation buttons that appear in the Image tab toolbar (first, previous, next, and last search match, respectively), to jump from one search match to the next.

The search-match navigation buttons allow you to navigate through all pages of a document.
|
|
TIP: For long documents, using the navigation buttons may be slower than desired. If so, view results in the Quick View or Extracted Text tab, neither of which distinguish individual pages. Also, use those tabs if no highlighting exists on the Image tab. |

Sticky note and embedded text results are on the Image tab but are not highlighted. You will need to open sticky notes to view search results in context.
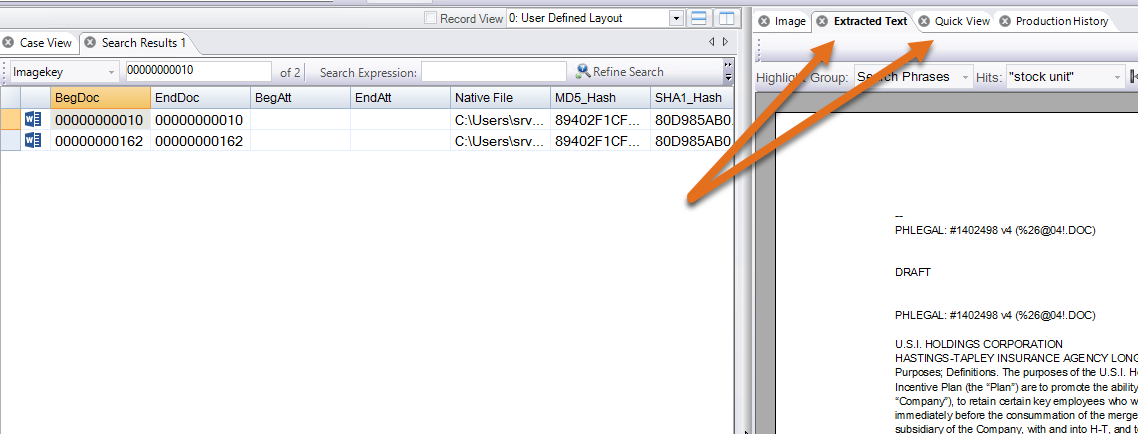
Extracted Text and Quick View Tabs
Search matches for a selected document are highlighted in the Extracted Text and Quick View tabs. To view search results on these tabs:
-
Navigate to the Review work area by following the steps listed in Open a Review Session.
- Optional: Customize search highlight colors by reviewing the section on Search Highlight Options.
-
After performing a search, click the Extracted Text or Quick View tab.

-
If you do not want to see keywords while you are working with search results, make sure the Display Highlights option is not selected in the tab toolbar. Highlights will not display until you select this option.
Note: The Display Highlights option is only available in the Quick View tab. Key words will always appear highlighted in the Extracted Text tab after running a search.
-
Visually scan the selected tab for highlighted terms.
-
To navigate from one instance of search hit to the next, select the type of navigation in the Highlight Group list:
-
Search Phrases: Select this option to navigate from one phrase (or string of words) to the next (for example, debt to ratio income).
-
Search Terms: Select this option to navigate from one term to the next (either individual search terms or terms within a phrase).
-
Proximity Hits: Select this option to navigate from one set of terms used in a proximity search to the next (for example, corporate w/5 debt).
A proximity search will find all instances of the terms used in the proximity statement, but selecting Proximity Hits allows you to exclusively navigate between the instances where the proximity relationship exists.
NOTE: The Proximity Hits option is not available for spreadsheets in the Quick View tab - results will include all instances of the two terms used in the proximity search.
-
-
If your search included multiple phrases, terms, or proximity statements, select the item of interest in the Hits list.
-
Navigate through all instances of the selected hit using the navigation buttons as shown here.
|
|
NOTE: Navigation buttons work when multiple hits exist and some are not visible in the current tab. If only one hit exists or all hits are visible, then the buttons are inactive. |
Transcript Viewer
Transcript search results will not appear in the Review work area with the other search results. To pull up transcript search results, open the Transcript Viewer by clicking on Transcripts in the Case Folders pane.
![]()
The Search Results tab will already be open in the Transcript Viewer, and all transcripts that contain the search expression will appear below it. Expand the transcripts, and the folders inside them, by clicking the plus icon  beside each transcript or folder you would like to open.
![]()
Expand the folders to view the number of search words that appear in the transcript, as well as how frequently they appear and their page:line references within the document. Click on the various page:line references to jump to the exact place in the transcript where each instance of the term appears.
|
|
Note: The Transcript Viewer contains only one Search Results tab. As such, you can only view results for one transcript search at a time. Each transcript search replaces the tab’s contents. |
When finished with your search, you can continue working in the Transcript Viewer by selecting the Clear Search Results button in the explorer ribbon.
![]()
Non-discovery Documents
Non-discovery documents can also be searched and are viewed separately; see Access Case Alerts, Instructions, and Non-Discovery Documents.
Version: 2023.8.12
Last Revision: 11/8/2023